Book Making
Japanese Stab Binding - Binder Clip Binding - Tissue Paper Book Covers - Pamphlet Binding


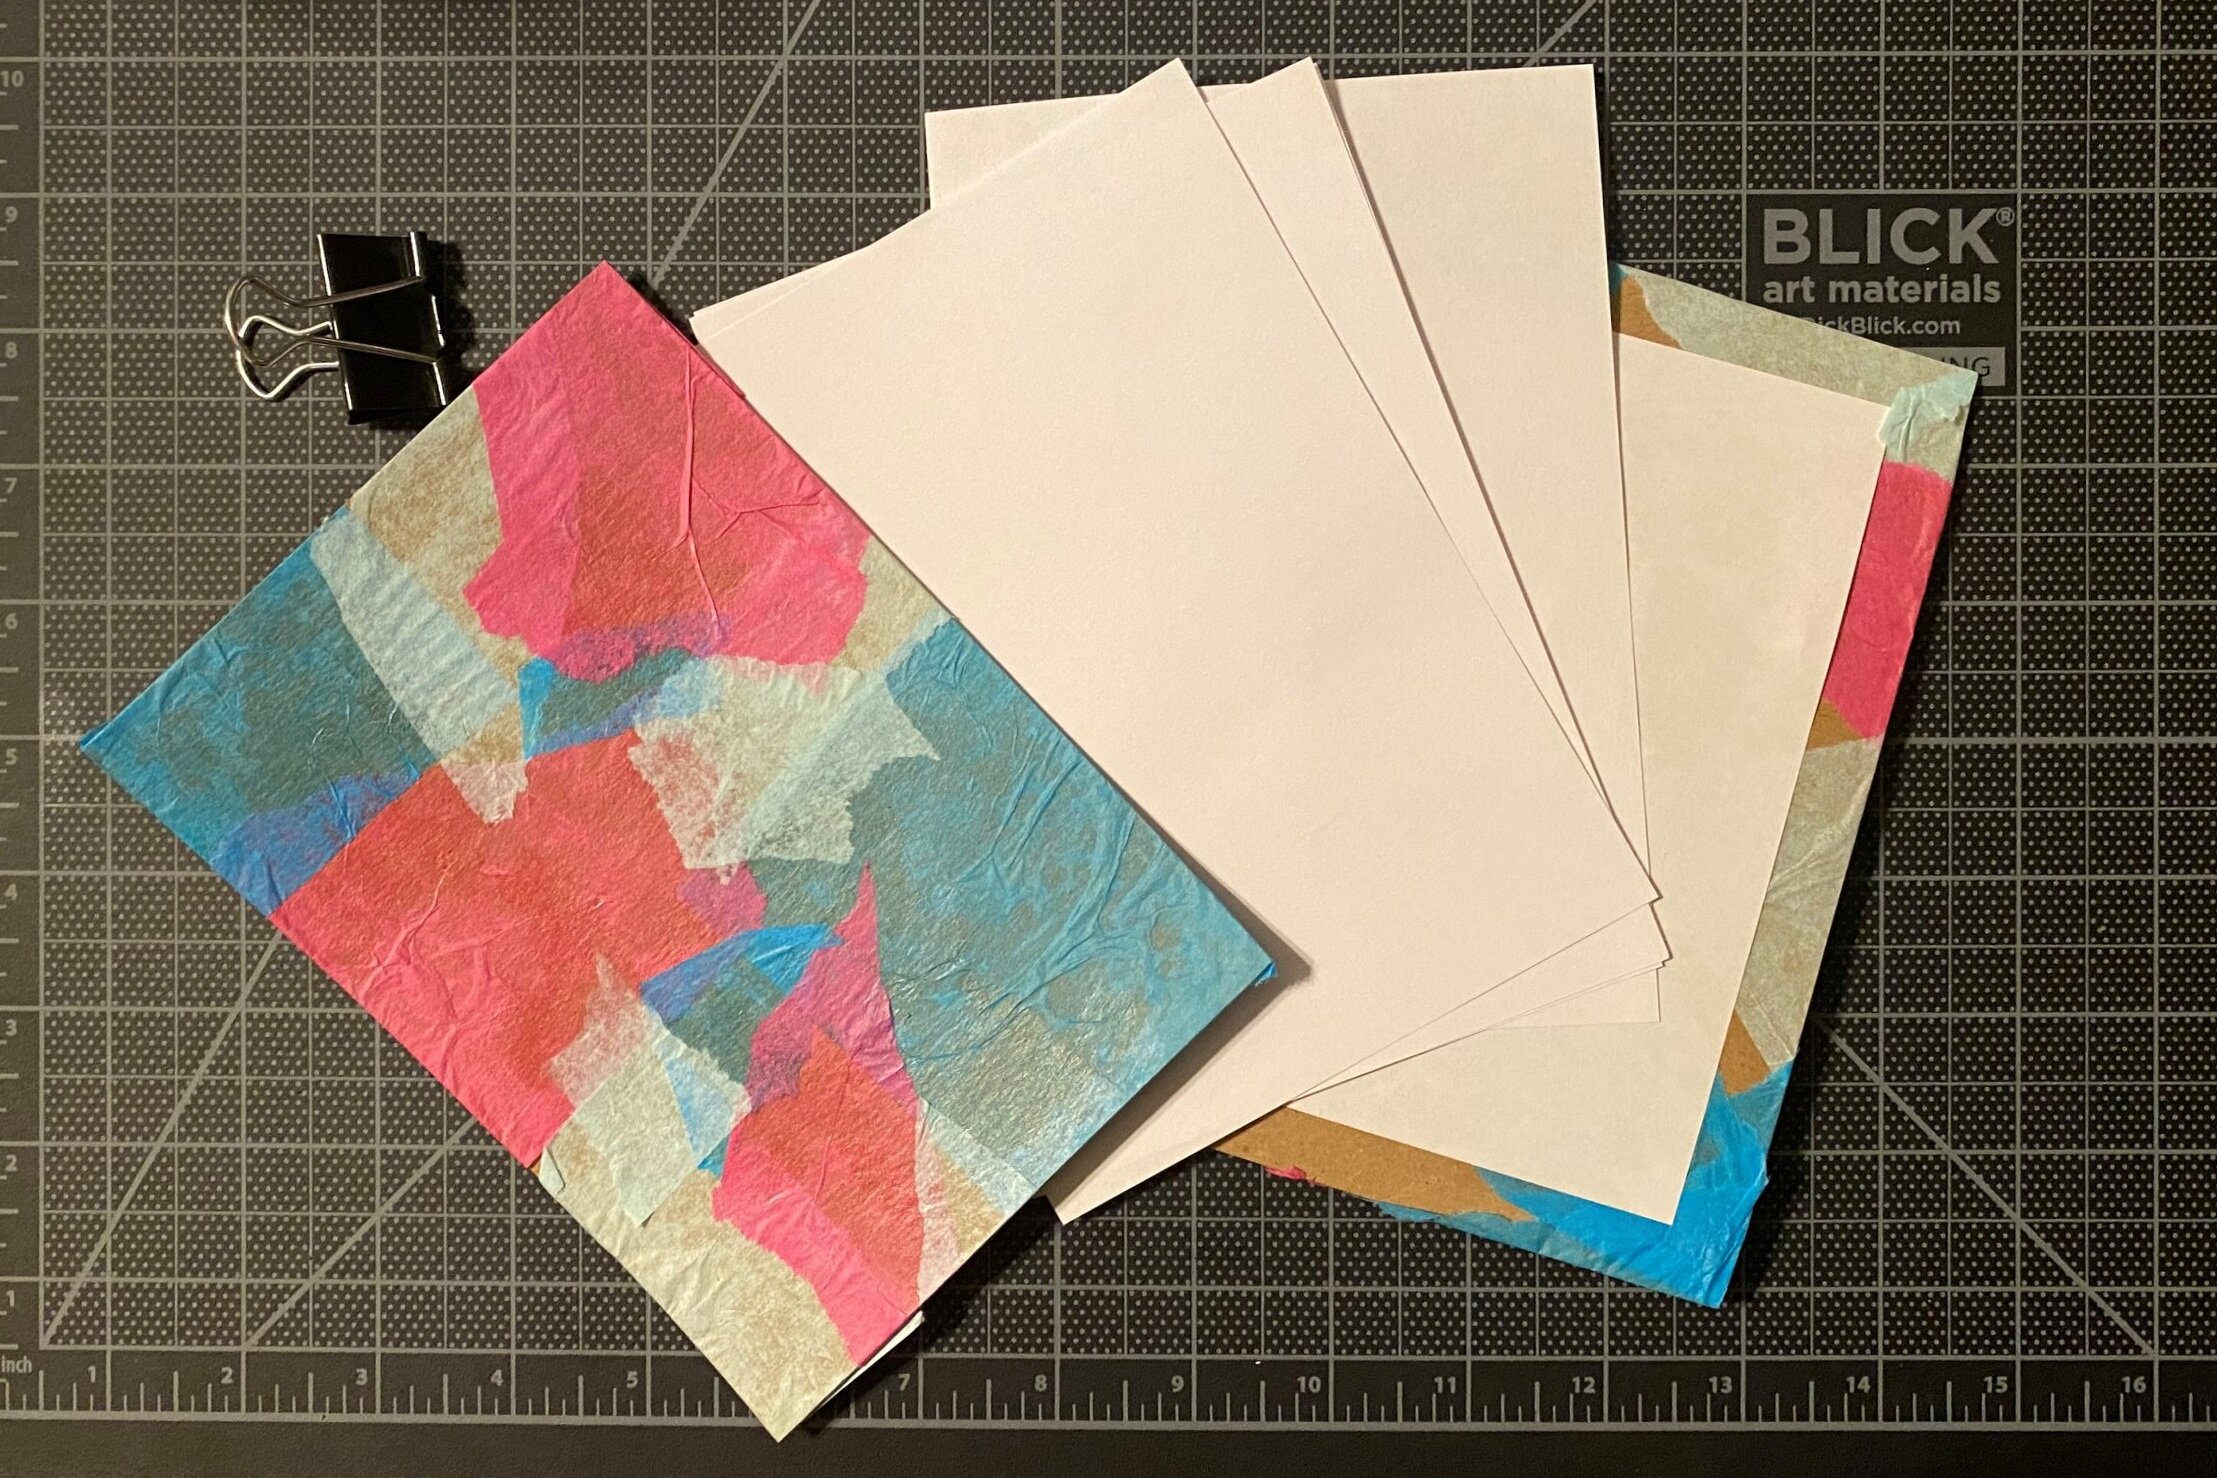
Materials
Awl for hole cutting
Heavy needle & waxed thread for binding
Bone tool for folding creases
Binder clips
Scissors, exact-o knife & paper slicer
Metal ruler & rubber mat for cutting and measuring

Decorative paper for cover
Cardboard, tissue paper for covers
white glue and brush
Drawing, notebook or printer paper for inside pages

Younger Elementary Students
Tissue Paper & Binder Clip Book
Process: Cut (or begin with) two equal sized carboard rectangles. Using a brush, cover one cardboard piece with glue. Apply the tissue paper. Let the tissue paper extend 1/2 - 1” past the cardboard. The style is artist choice, you can wrinkle the tissue paper or apply it smooth. For a shiny, shellacked look, paint glue over the tissue paper. Set aside to dry.
Once the cover is dry, turn it over. Fold the extended tissue paper around the cover and apply glue over the tissue. Cut two pieces or regular paper, slightly smaller than the cover. Glue the paper to the back of the cover- some of the folded tissue should be showing.
Add several pages inside or use book to store other artwork. Use a binder clip to keep it closed. An additional option for this book would be to hole punch a corner and use string, a carabiner or a key chain ring to hold pages and covers together.

Pamphlet Book
3rd Grade and Up (must be able to measure and h
andle sharp tools)
Start by gathering awl, needle, thread, inside paper, ruler, mat, cover paper and exact-o knife.

Japanese Stab Binding
3rd Grade and Up
(must be able to measure and h
andle sharp tools)
Cut cover paper down to desired size. Cut inner pages 1/8” shorter than both edges of cover. Stack pages and cover and clip together. Measure height of pages. 1/4 - 1/2” in from the edge (the further in the holes are, the smaller the pages will be). Divide into five even sections and mark four evenly spaced spots for holes. Use awl to poke holes.
Thread the needle with thread five times the height of the book cover. Rather than attempting written instruction, here is the video I used: https://www.youtube.com/watch?v=j-r6c_trSxY. Be sure to pull the thread nice and tight for a firm binding.
Book Making Classroom Applications
Book making can be adjusted to suit any grade level, from kindergarten through high school. They are a great way to allow students to create something personal to them and are very customizable. Books are also a great way to fuse two subjects together. Elementary students could create their own books containing stories they write in English, they could create a journal for science units, or books can be used as a portfolio for multiple subjects or just art work.
Book making is also a great follow up unit after marbling or other paper making technique lessons. Students can use reusable materials like cardboard from cereal boxes or new materials, making books a versatile unit for any classroom on any budget.
My Experience with Book Making
I really enjoyed book making and could have spent even more time trying out new bindings. I thought the accessibility of materials was a useful thing to note for using this in future lessons. I struggled to cut my pages straight using the mat, ruler and exact-o knife, so I preferred to use my paper slicer. I found that thick watercolor paper was my favorite cover to create a stable and flat book. My favorite method to work with was the Japanese Stab Binding and I would attempt making my holes even closer to the edge, and be sure to pull the thread more tightly to avoid any looseness or shifting.