Screen Printing
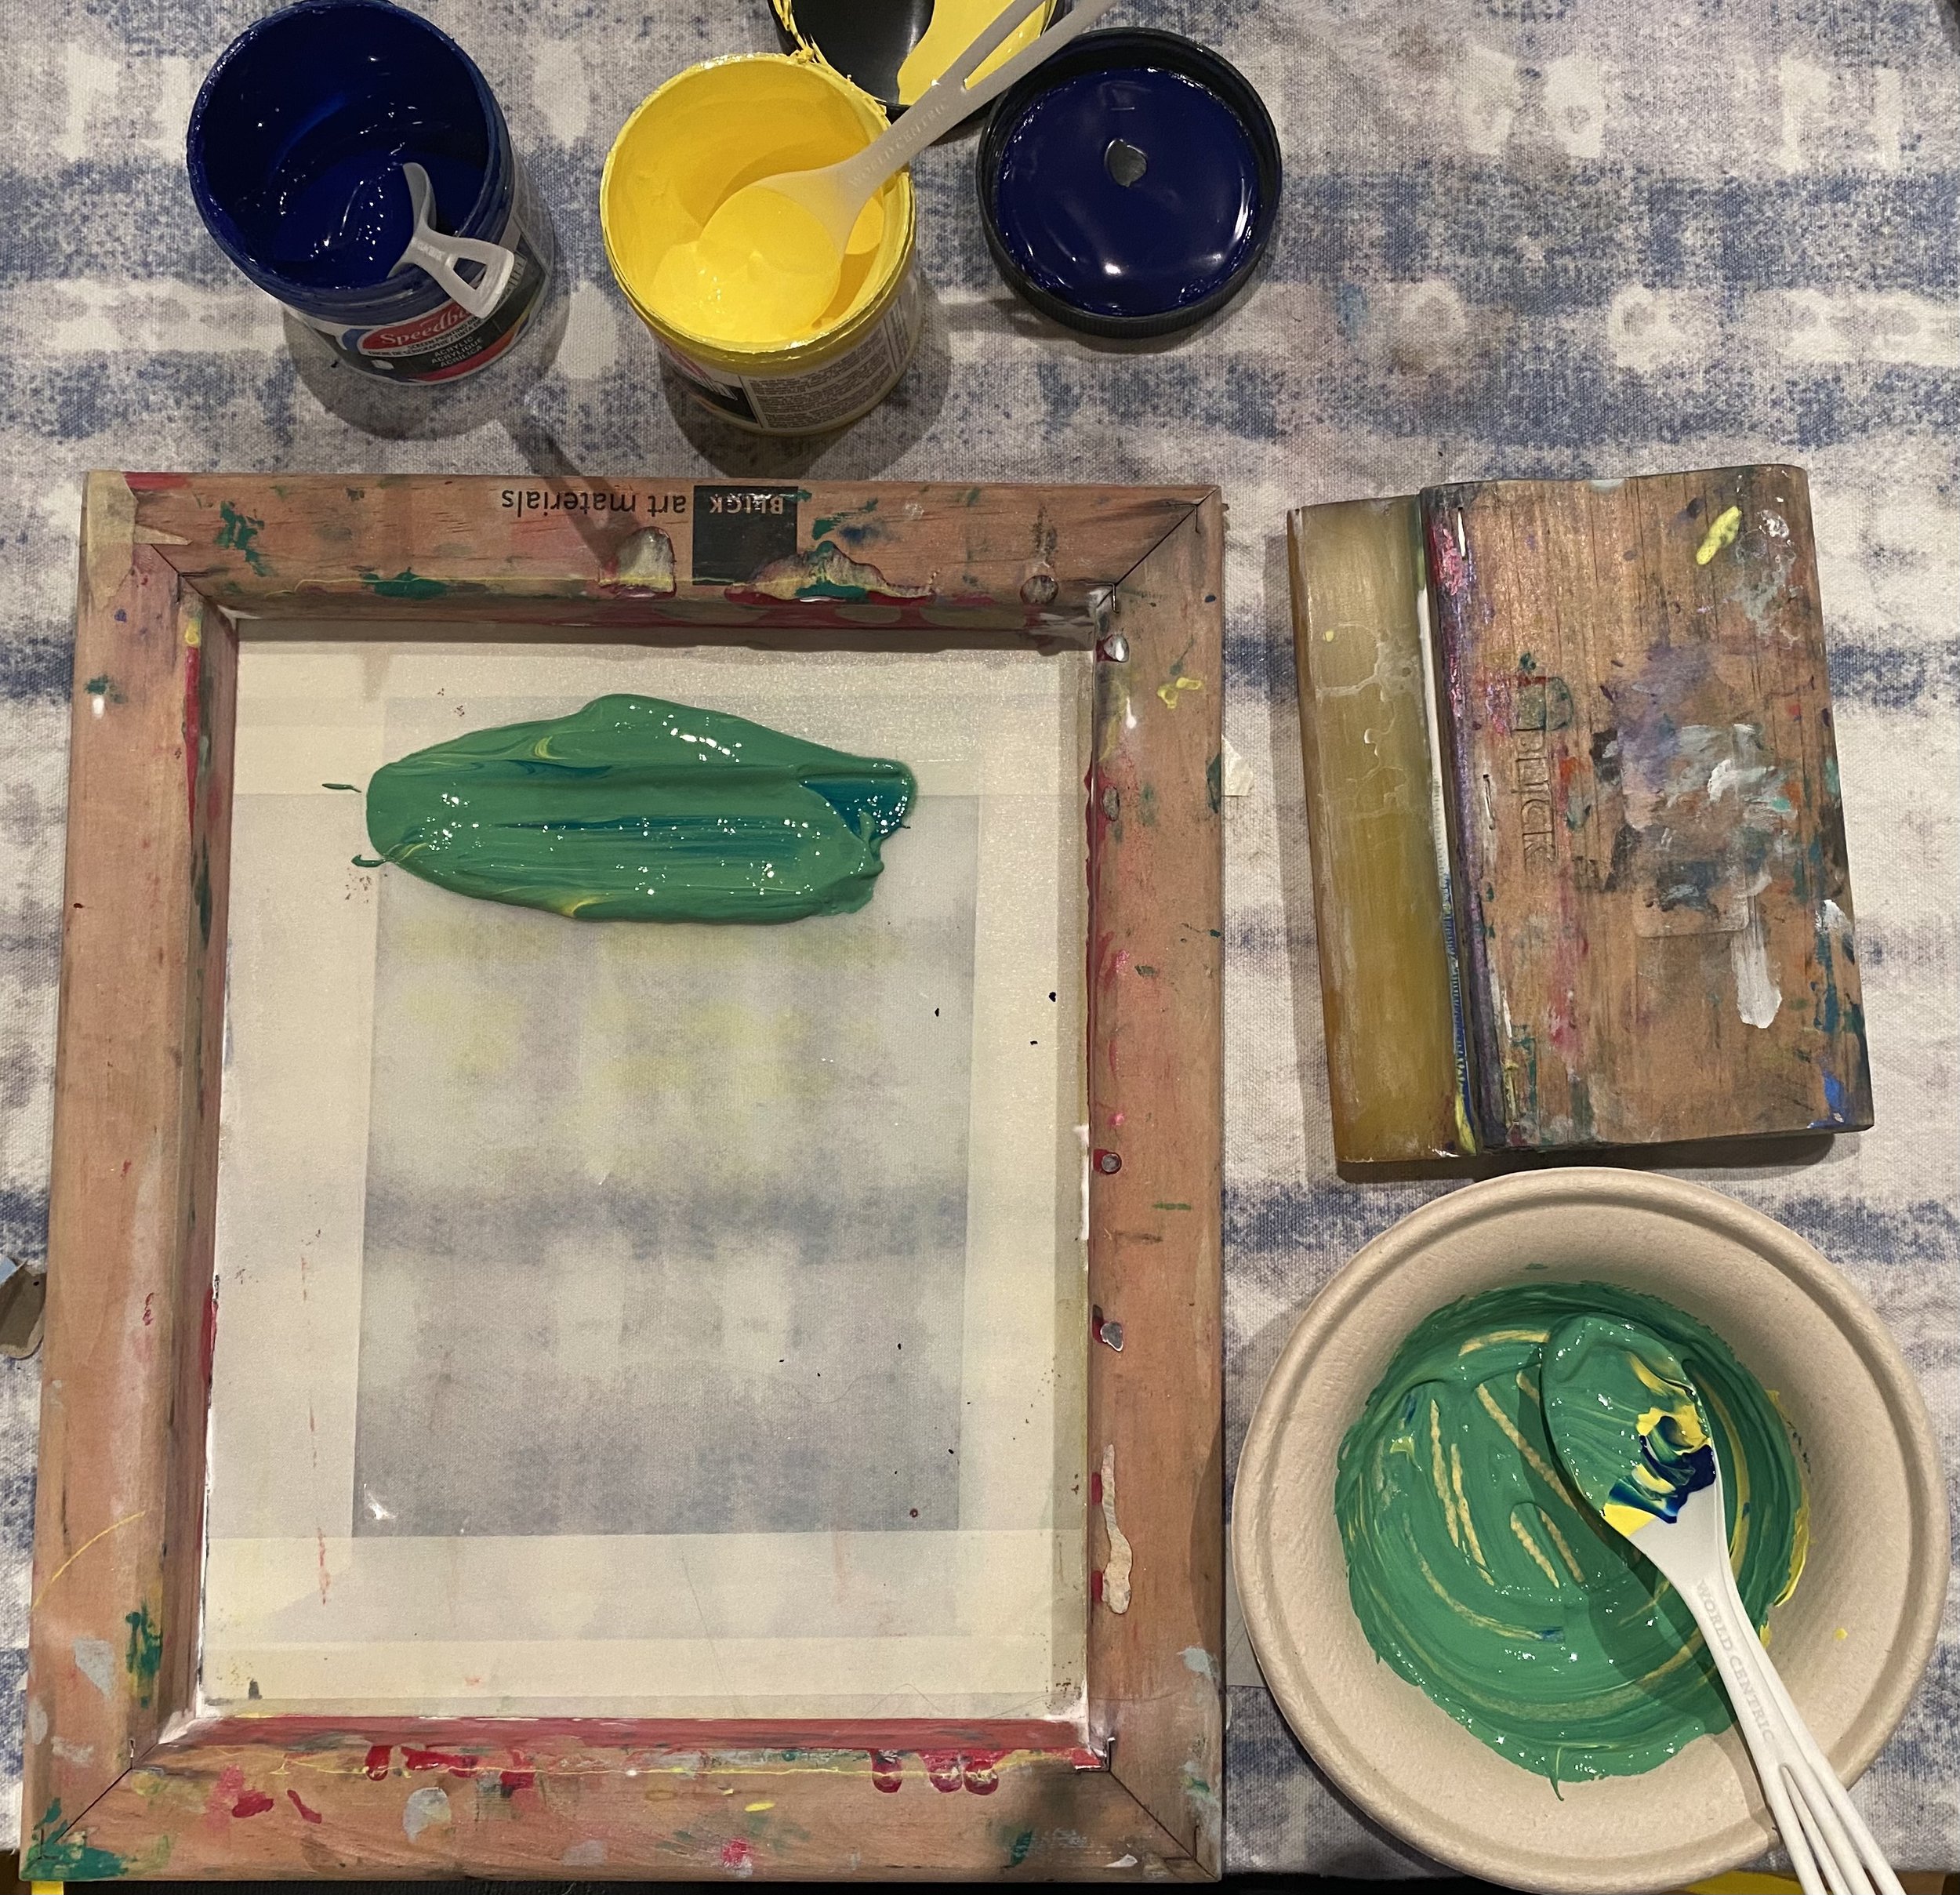
Screen print set- up with clear plastic stencil


Materials
Screen
make your own with screen and a wooden frame
Acrylic or fabric printing ink
Squeegee
Paint brush or palette knife
stencil (paper, exacto knife)
masking tape
paper for printing
tote bag for printing
Newsprint for surface
Sponge, bucket with water, paper towels
Process
Create your stencil.
Start with a drawing, then use exact-o knife to cut stencil out.
Place stencil on the flat side of the screen and tape so no screen is uncovered except in the stencil
Place screen with the frame side up over printing material (tote bag or paper), with the stencil design where you want it to end up.
Apply a generous amount of paint to one end of the screen.
Use the squeegee to pull the paint across the stenciled area. Squeegee over the stencil area several times for a smooth, complete design.
Pull the screen up! If printing on cloth, throw item in the dyer or apply heat with a hair dryer to seal the ink into the fabric.

Stencil Tips
Be sure to cut the design with the matte side of the ruby slip facing up, this ensures that the static side will be against the screen
Use the ruby slip when you may want to reuse your stencil
The mask-ease stencil works best for fabric
paper stencils work well for a less expensive option, and for test runs
Cut the outside of the stencil much larger than the design to provide more coverage on the screen and require less tape
Tips for Screen Printing on Paper
To screen print on paper, I found that using acrylic printing ink specifically for paper was best. Fabric ink on paper results in a gummy, cracked appearance and texture.
Print on paper larger than you want the final product, then trim around for neat edges in the desired size.
Tips for Screen Printing on Fabric
I found that screen printing with this method is best for fabric. It is necessary to slip thick, flat cardboard or a cutting board between the layers of fabric when printing a tote bag or a t-shirt.
Add heat with a hair dryer to dry the ink faster and seal it into the fabric. Another option would be to let the ink dry completely, then put the fabric in the dryer to seal the ink in.
Other tips for Printing
For a neat, flat design pull the paint across the design only once.
Be sure to use plenty of tape to avoid any ink leaking


Image above shows prink on paper with ink that is too watery. To thicken ink, cornstarch can be added. Another possible issue here may have been a stencil not properly attached or two many pulls of ink across the design.
Classroom Application
Screen printing would be a good lesson in a middle or high school classroom. It provides the option of iconic design with printmaking, something of interest to teenagers. They would be able to apply their own design to something they could wear or use in order to display it.
The methods and materials involved also require more skills and knowledge than accessible with younger students. The paint/ink stains clothing, the exact-o knife is quite sharp and should be used with care. The complexity of creating stencils can also be a challenge, making it more favorable for older students.
The materials are common for an art classroom. If there isn’t access to specific screens and frames, fabric ink/paints, stencil papers etc., there are many options for DIY screens. There are accessible alternatives such as regular paper in place of ruby plastic or sticky paper for stencils, and regular acrylics in place of printing ink.
Two applications for a screen printing lesson include:
1) Upcycling used clothing by adding designs to old t-shirts, denim, and more.
2) Have students design and create t-shirts to sell for fundraisers for an art or education related cause.
My Experience
Screen printing has many steps that involve risk of error. The correct ink must be used for a smooth print.
The stencil must hold up against the ink and be applied to the screen so it prints in the correct direction.
The paint must be pulled across the screen smoothly and provide full coverage. Enough tape must be used to avoid extra ink getting out.
The screen must be completely dry or the ink may bleed around the trim designs.
After going through trial and error with different stencils, inks and techniques, I discovered that screen printing takes practice, planning and attention to detail. I enjoyed testing different approaches and would be interested in trying other screen prints with the emulsion method. One thing that made the process tedious when trying to learn quickly: each new print takes a lot of reset. The same print can be pulled multiple times, however changing color or design requires cleaning up and starting the process all over again.
Overall, this method of screen print using stencils is a great option for the classroom but limiting for complex design prospects.