Foam Prints

Materials
styrofoam board (I experimented with foam paper, thin styrofoam and stiff boards)
carving tools (non-brush end of a paint brush, pen/pencil, woodcut carving tools, ruler, knife)
acrylic or ink paints
sponge brayer or wide paint brush
palette or paper plate
paper for printing on
newspaper or newsprint to cover work surface
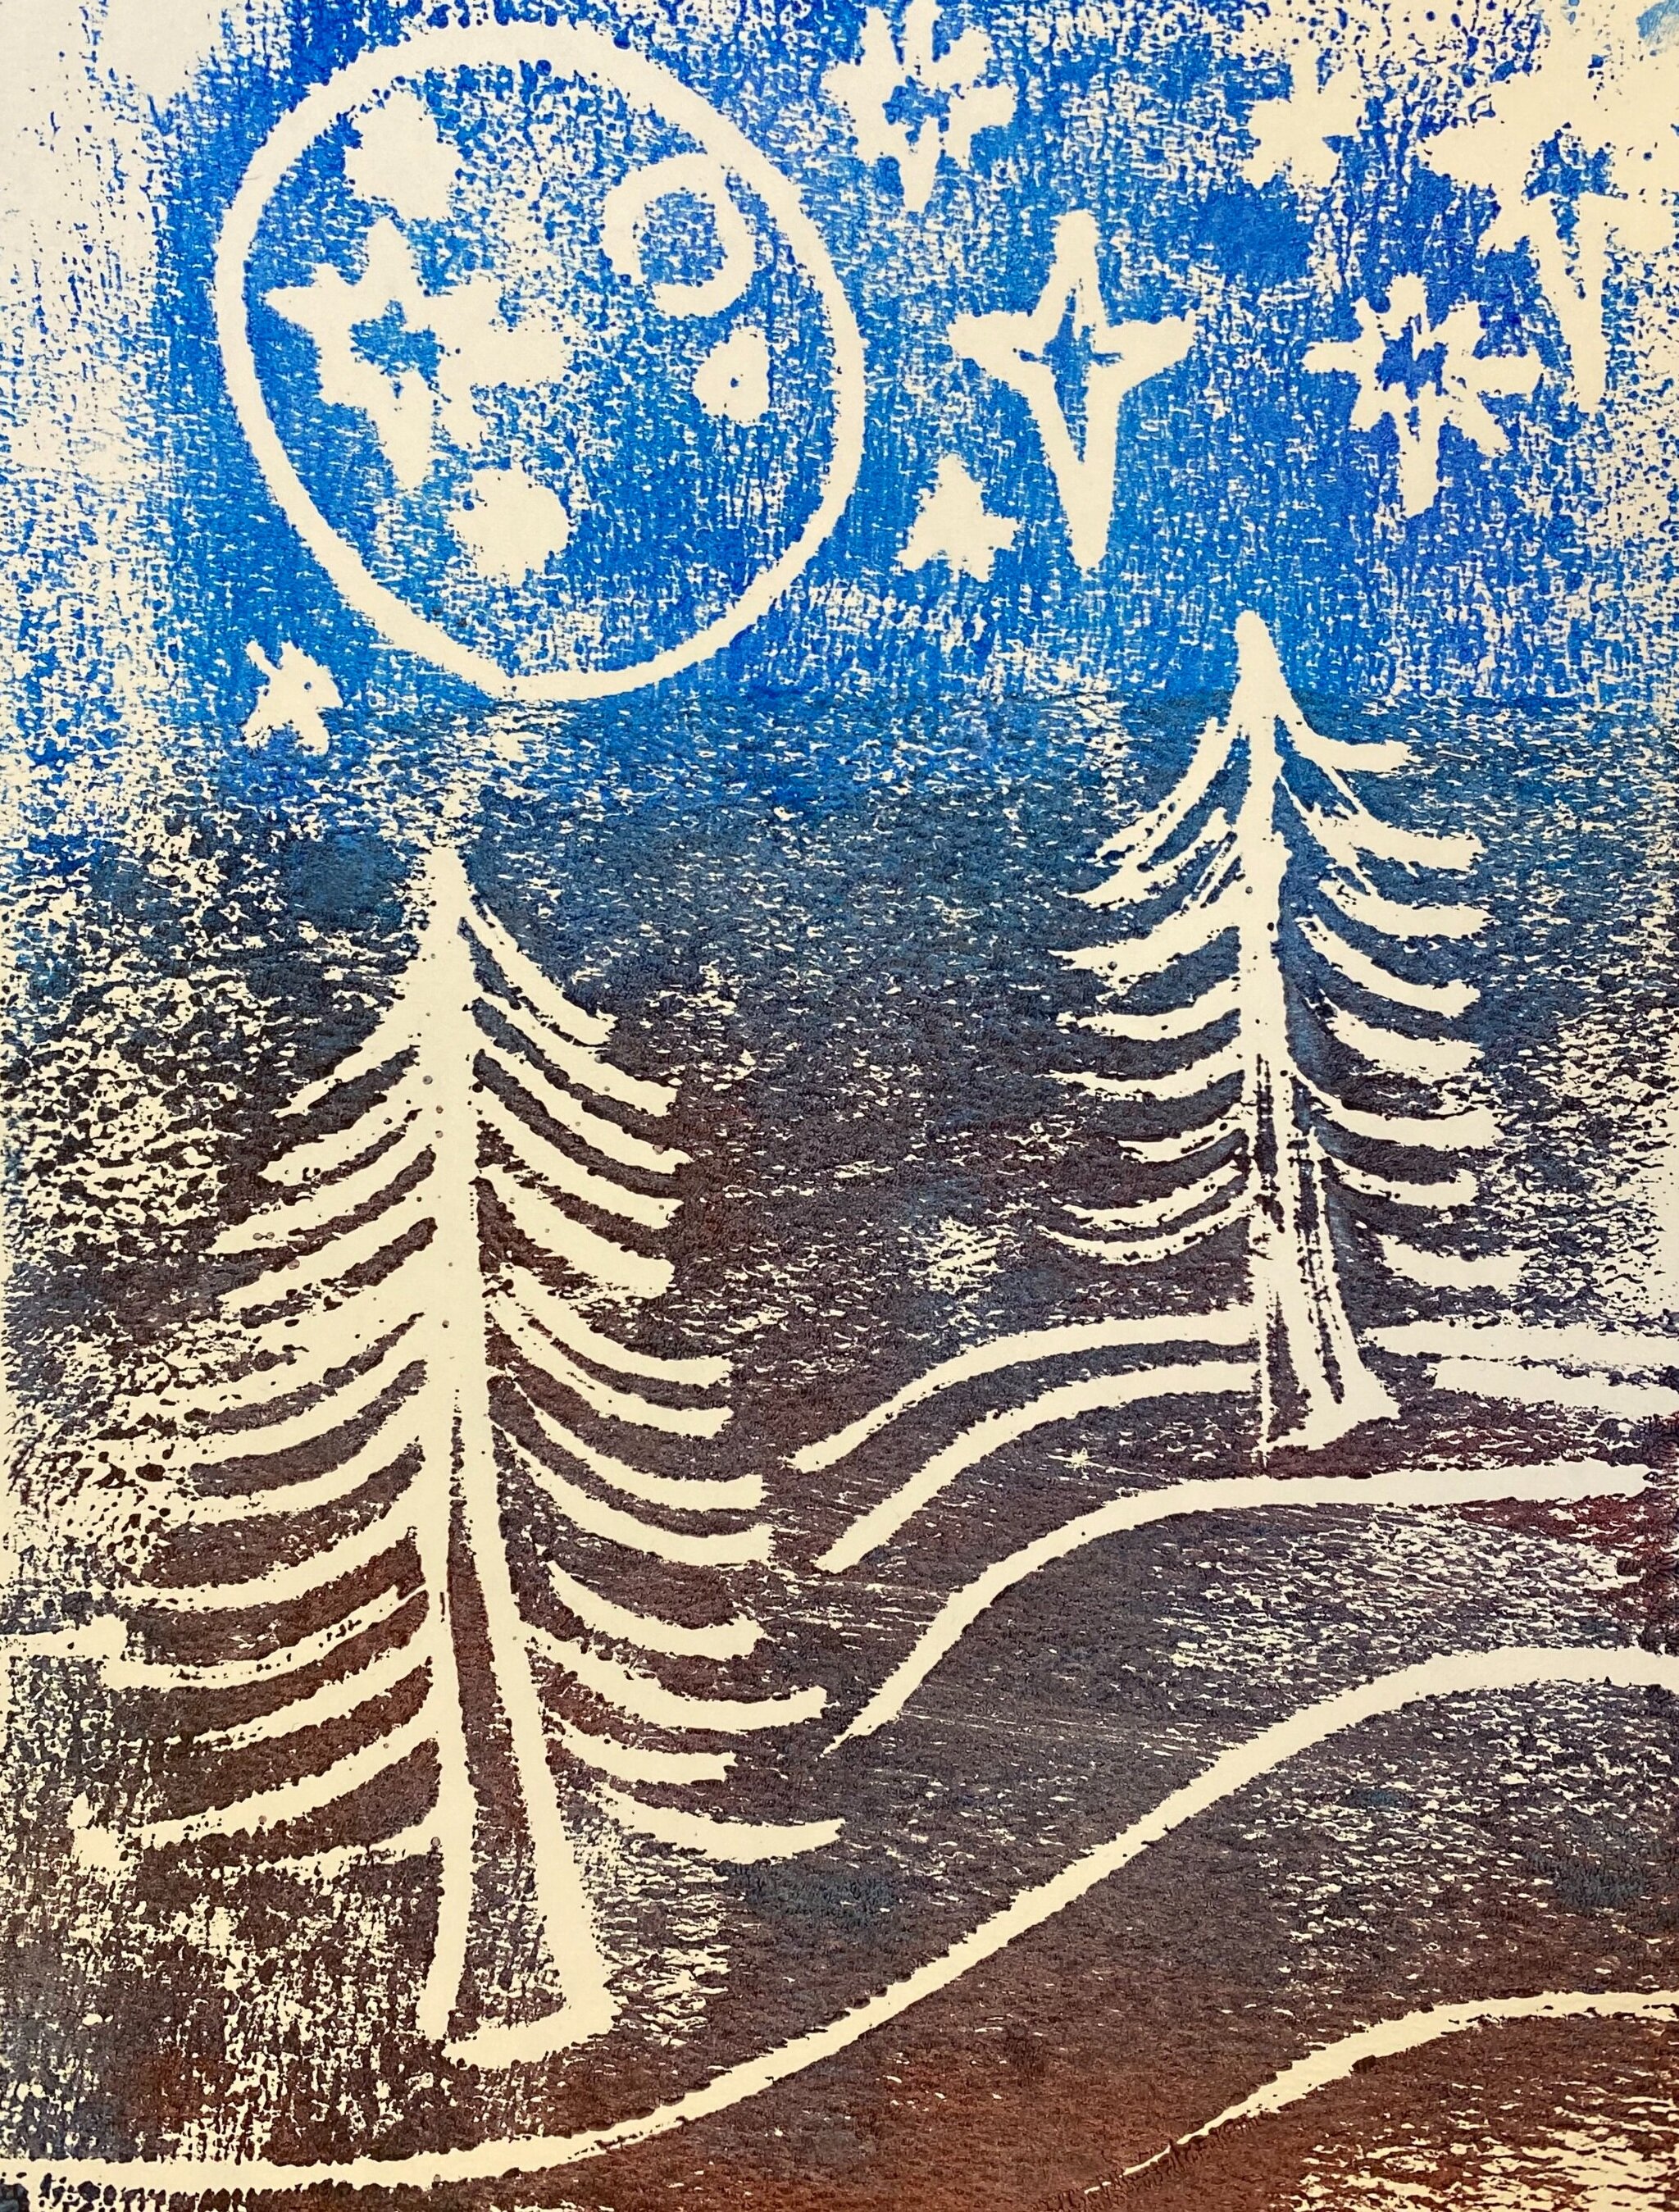
The image to the right was a print using the thin syrofoam, engraved with the end of a paintbrush.
Process
Choose a carving tool and styrofoam board.
Carve, draw, etch design or drawing into the styrofoam.
Select color(s) and apply paint to the plate.
Use brayer or large brush to apply paint to the full styrofoam.
Place the painted styrofoam on top of the printing paper. Press and rub to fully transfer the paint to the paper.
Pull the styrofoam up.
Rinse and repeat with different colors or add a new layer of paint and repeat.
My Experience & Takeaway Tips
I found that the trickiest part of this technique was applying the appropriate amount of paint to the styrofoam. Using the sponge brayer led to more of a dotted texture and lighter layer of paint. Pressing down too much when applying the paint with the brayer also led to too thin of a layer of paint.
Using a brush creates the issue of paint getting into the etched lines, taking away from the image. This was especially an issue in using the stiff board due to the smaller etched lines. One solution is to go back over the design after paint is applied. However, that still did not yield ideal results, and adds additional time that should be saved in a printing technique.
Be sure to press down fully and rub across the entire board when applying the print to get a clear image.
My biggest success came with the small, traditional styrofoam board, using the end of the paint brush to carve. This type of styrofoam was easiest to carve into, and easiest to apply to the paper. The one potential drawback with it was the spongey texture that came from the shiny surface and the application of paint with a sponge brayer. This could also be a postive result depending on the aesthetic goal.
Classroom Application
Styrofoam printing is a great technique for either elementary students (K-6th grade) or any low budget art classroom. Styrofoam is a relatively less expensive material, a lot can go a long way, and most classrooms are stocked with paints that can be used.
The etching and carving aspect of this technique presents two positive learning opportunities.
1) Practicing this method of drawing on styrofoam is a good introduction to print making, and a great jumping off point for woodcut and linocut print making.
2) Etching for prints results in the inverse result, which is challenging for some students to wrap their mind around. Practicing this method teaches students how to plan designs that flip left to right and inverse how the color/outlines are.
One final note about this activity for younger students: It can be quite messy and both acrylic and printing paints do stain so coverings are recommended over clothing and table surfaces. Experimentation could be done with watercolor or tempura paints that are much more washable.
The image to the left created with foam board and the end of a paint brush.